
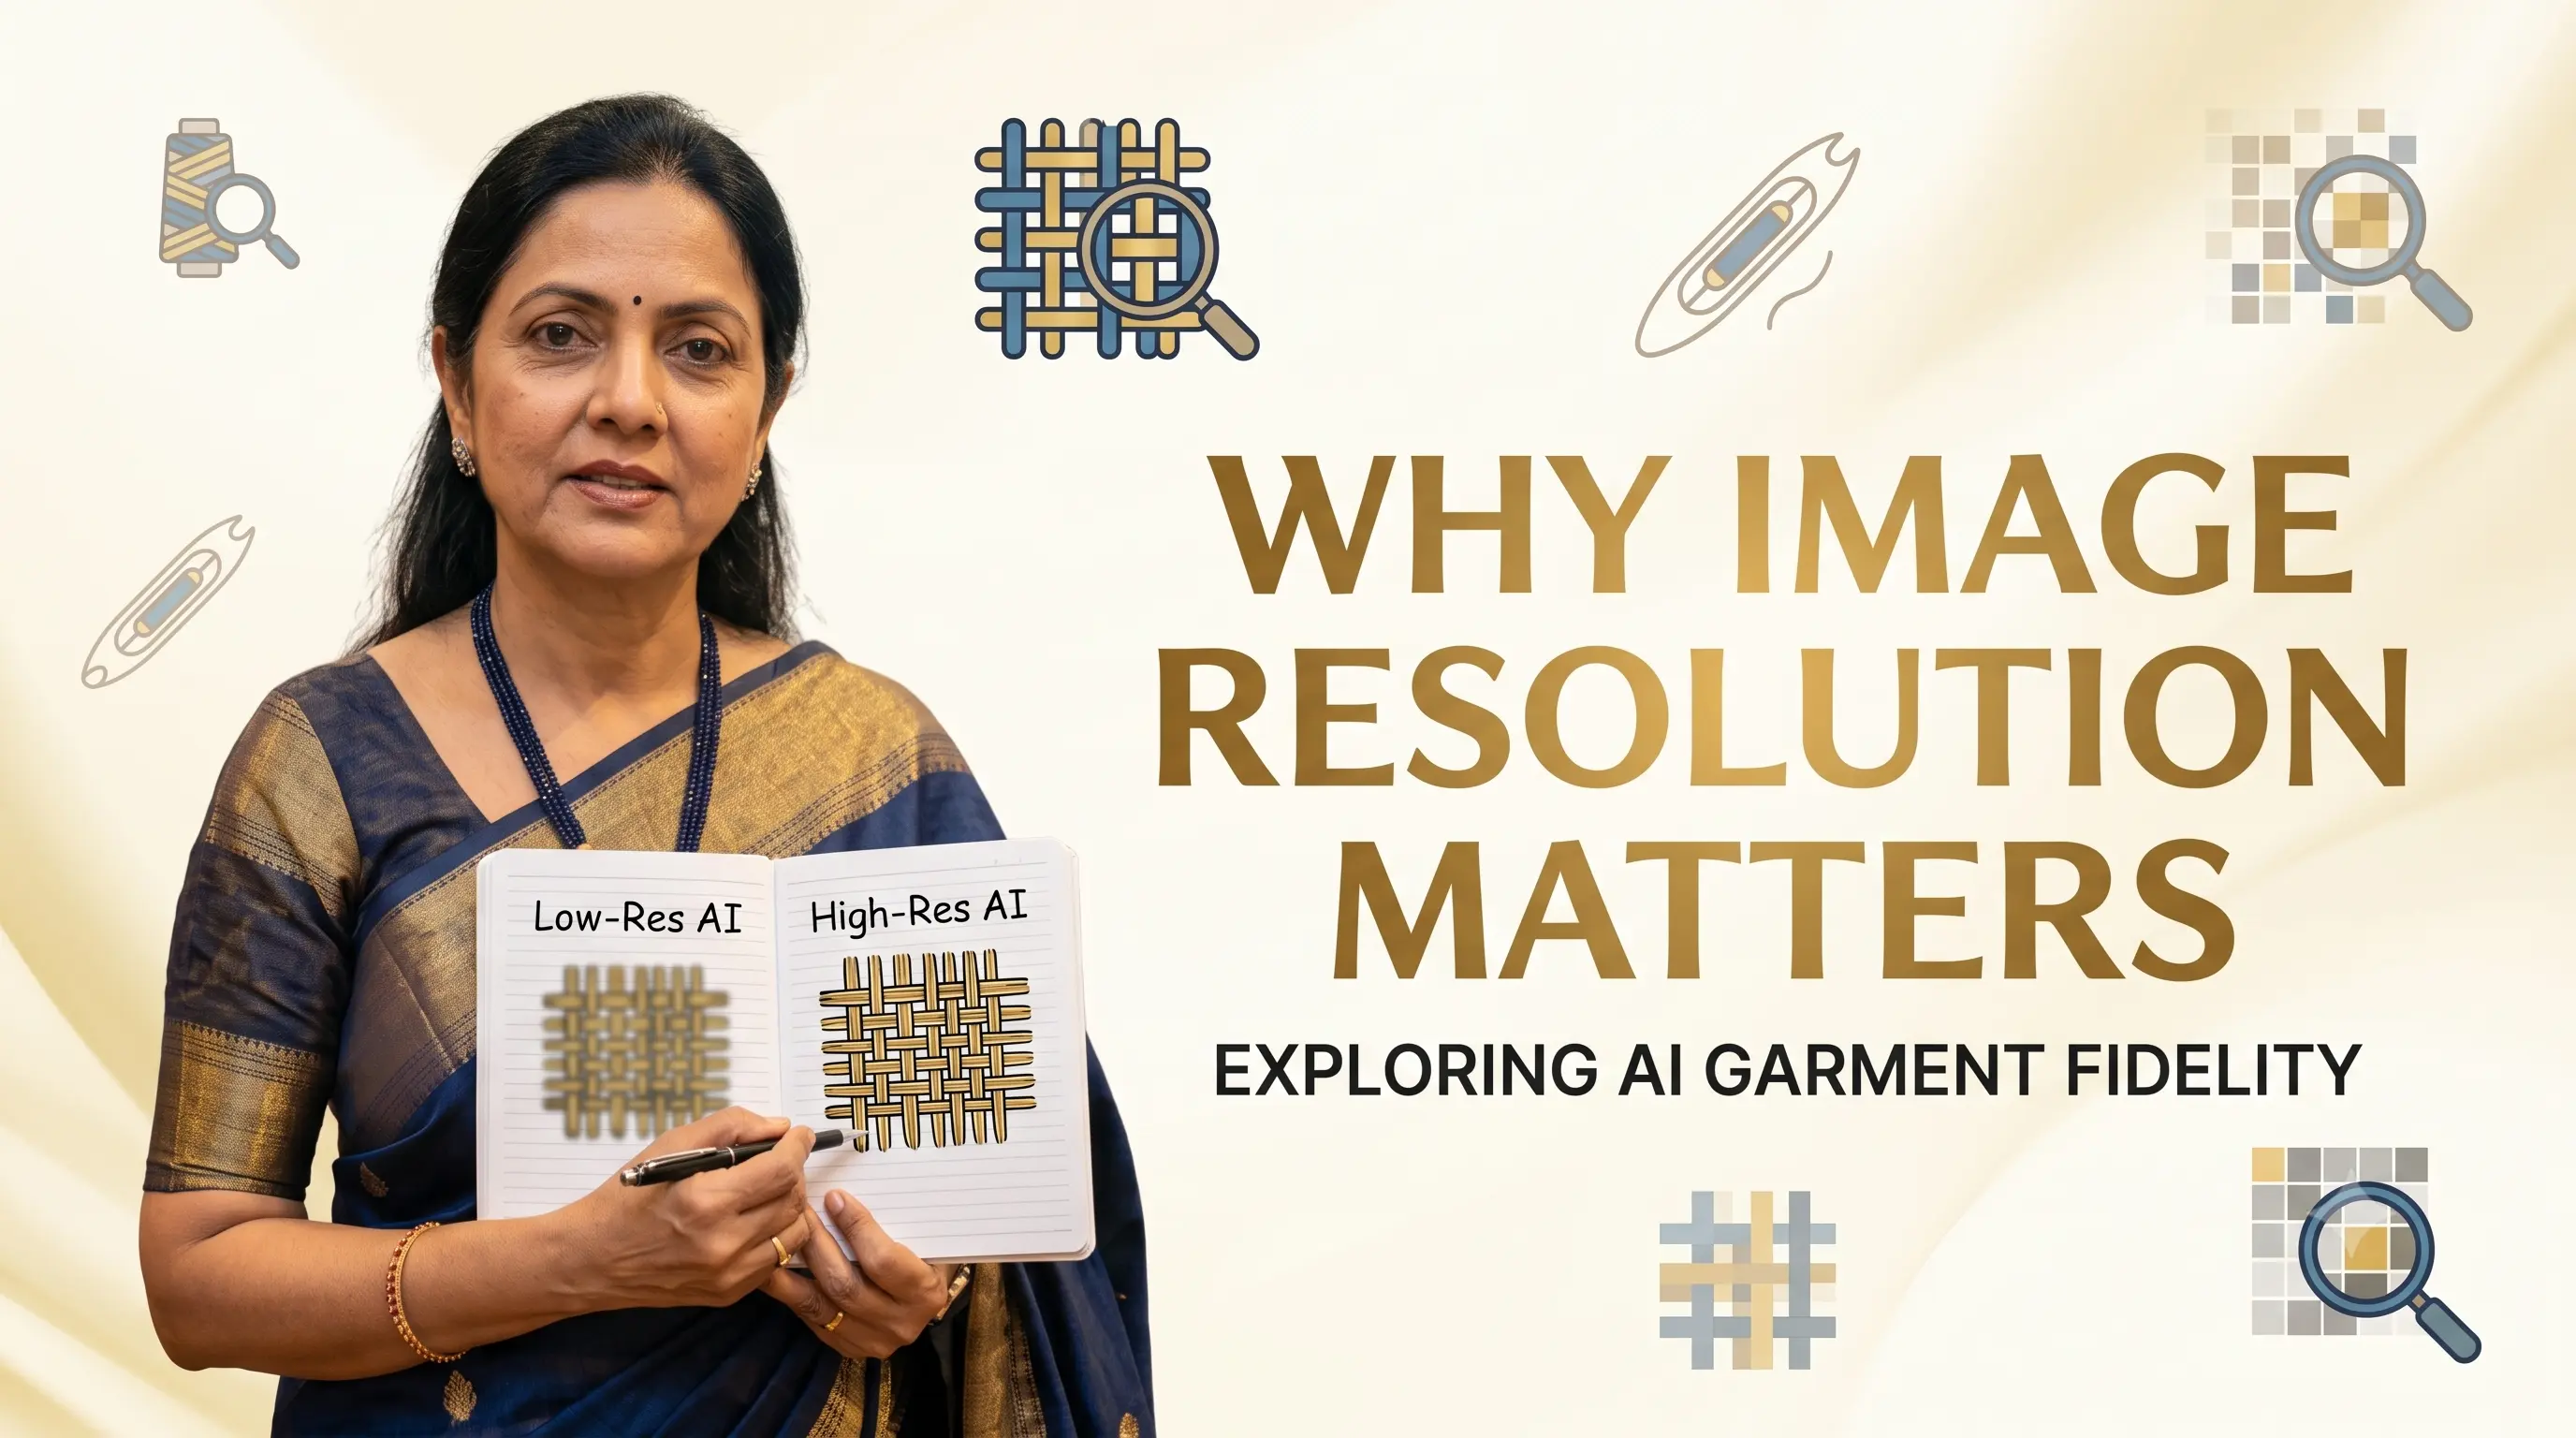
You generated a beautiful AI fashion image. The model looks elegant, the background looks expensive, but when you zoom in, something feels off. The embroidery looks painted, the face is unnaturally smooth, and the jewellery has merged into the hair.
Generating at a smaller image size saves money, but it gives the AI fewer pixels to describe fabric texture, embroidery, facial pores, and fingers. Upscaling later can make the image larger, but it cannot recreate details that were never generated in the first place.
- Generate hero campaign images at high resolution (2K/4K).
- Use smaller resolutions for draft pose testing.
- Understand that upscaling is renovation, not magic.
- Ensure the garment occupies enough frame area.
"Think of resolution as production space. You can ask the AI to fit an entire fashion campaign inside a small image, but eventually somebody’s fingers are going to suffer."
What Does 0.5K, 1K or 2K Actually Mean?
Labels like 0.5K, 1K, 2K, and 4K refer to the number of pixel dimensions available in the generated image. More pixels give the AI model more space to describe fine visual details accurately.
What the Problem Looks Like
1. The image is not pixelated, but it still looks low quality
A low-resolution AI generation may have clean edges, but lacks realistic detail—yielding flat fabric textures, simplified embroidery, unnatural skin, and melted background furniture.
2. Garments lose their finer details
A plain t-shirt survives low resolutions reasonably well. A heavily embroidered lehenga demands threadwork, sequins, zari, beads, and pleats. At smaller sizes, these details compete for the same pixels and get compressed into golden noise.
3. Faces look artificially smooth
Natural faces need skin texture, eyelashes, and lip detail. When pixel space is limited, the model simplifies the face, creating glowing smooth cheeks and plastic skin with zero pores.
4. Upscaling cannot restore missing details
Upscaling increases image dimensions and edge sharpness, but if the original generation created incorrect embroidery or a distorted hand, upscaling gives you a larger, crisp version of the distortion.
How to Improve the Result (Practical Action Guide)
Generate first-slide carousel covers, ad visuals, and website banners at maximum resolution settings (2K/4K).
Test concepts at lower resolutions. Once the winning pose and background are chosen, re-render the hero image at high quality.
Ensure the model occupies a prominent portion of the frame. Avoid overly wide shots where the garment represents only 15% of the image area.
High output resolution cannot compensate for a blurry source upload. Provide clear, well-focused garment inputs.
How Drape Studio Handles It
At Drape Studio, we optimize image generation resolution based on garment complexity and client usage:
We evaluate garment detail density and intended display placement.
Unnecessary background complexity is pruned to maximize pixel allocation on the garment.
High-fidelity rendering is executed at optimal resolution for crisp fabric texture.
Facial structure, hands, and embroidery are inspected at 100% zoom.
Final assets are formatted to deliver maximum sharpness on website product pages.
"Saving money on generation is helpful. Saving a few rupees and discovering your model's necklace has merged into her collarbone is considerably less helpful."